User guide
How to use ToteTracker
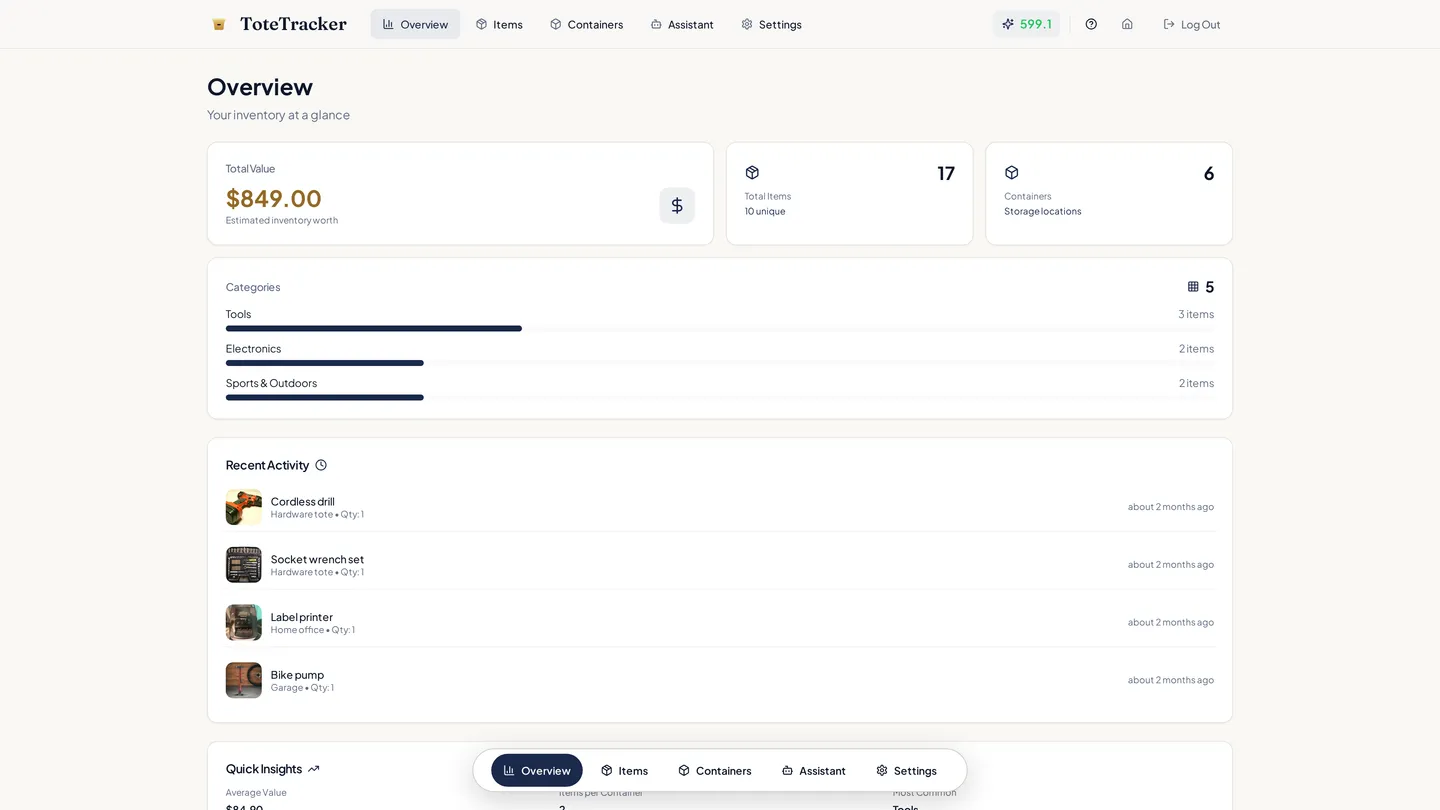
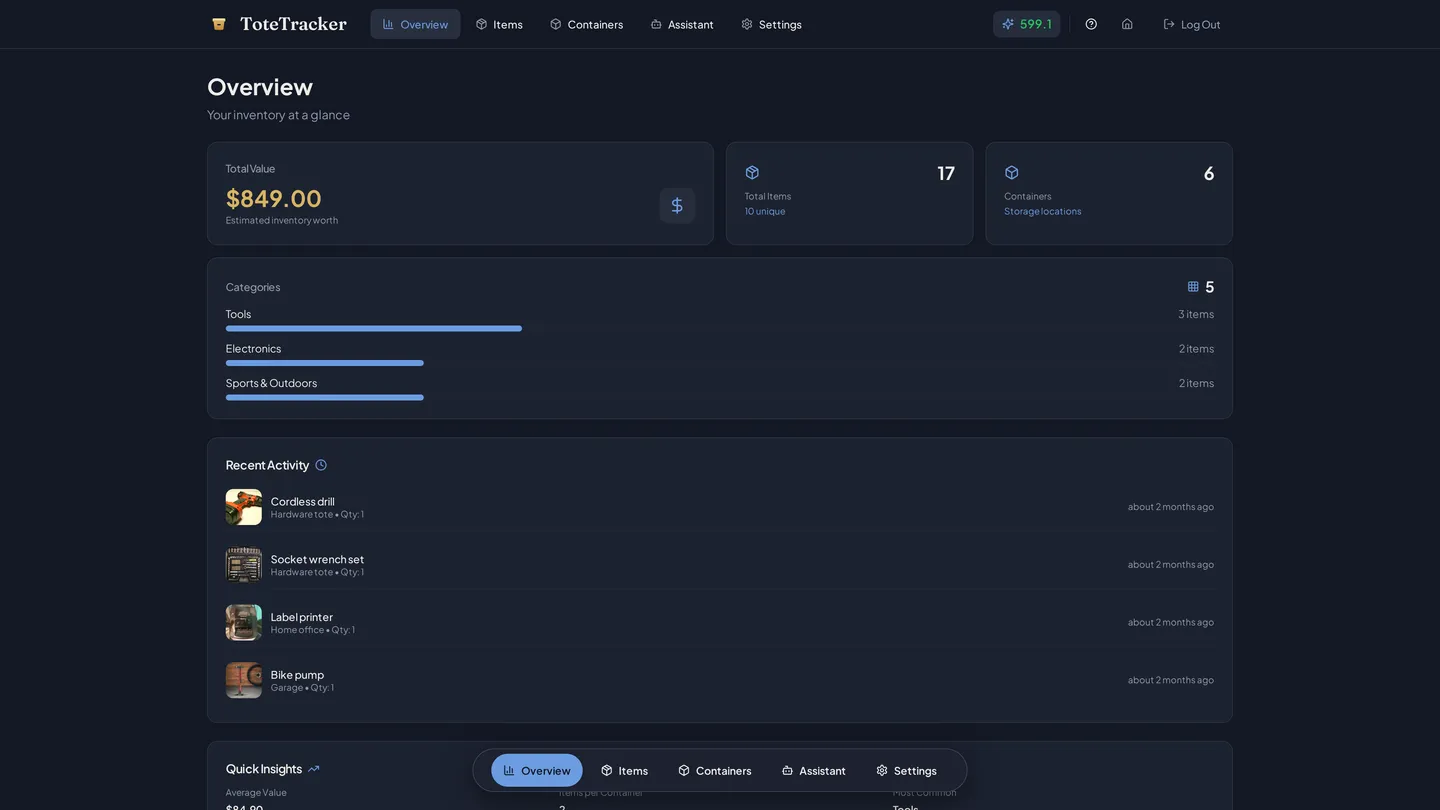
Everything you can do in ToteTracker, explained step by step with screenshots from the real app. Every guide has its own link, so you can jump straight to the one you need.
- Set up containers and labels
- Catalog by photo, receipt, or barcode
- Search in plain language or by photo
- Share with your household
Chapter 01
From signup to a working inventory.
Here's the short version. The chapters below go deeper on each step.
- 1Sign up and start the trialCreate your account and start the 7-day free trial with no credit card. On Android and iOS, you can also install the app from Google Play or the App Store; on desktop ToteTracker runs in the browser.
- 2Set up containersCreate containers for your storage: rooms, shelves, boxes, and totes. Start with one room and nest containers to match it.
- 3Add your first itemsPhotograph items to catalog them with the camera, scan a barcode, or type the details in.
- 4Organize and refineMove items where they belong, split boxes that got crowded, and print labels for your totes.
- 5Invite your household (optional)As the owner, invite a partner or household member by email to view and edit the same inventory. Sharing is part of Plus; the people you invite can be on any plan.
Tip
Start small
Don't try to catalog the whole house at once. Start with one room or one storage box, then expand once the workflow feels familiar. If you cover the same shelf twice along the way, duplicate detection will flag it.
Chapter 02
Set up your storage system.
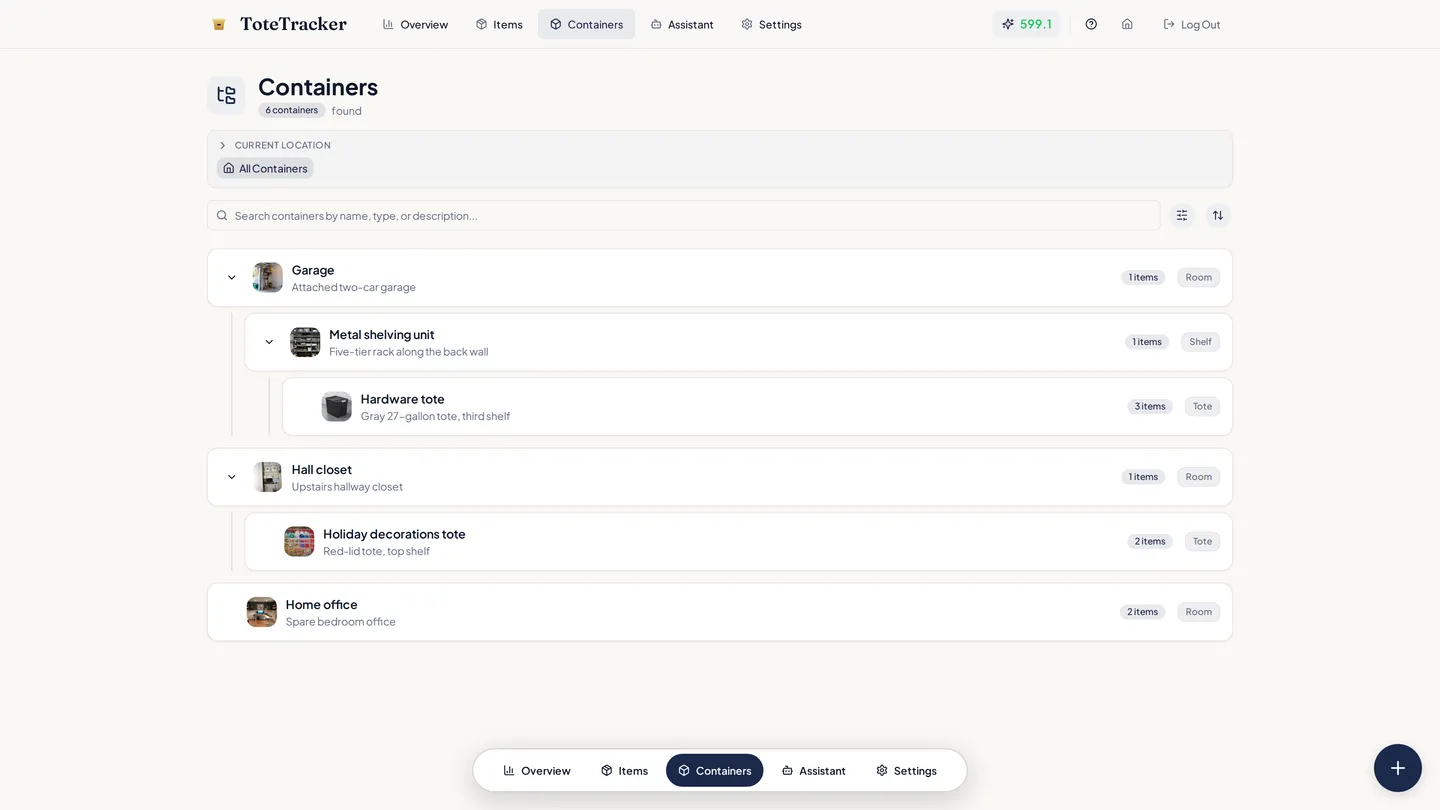
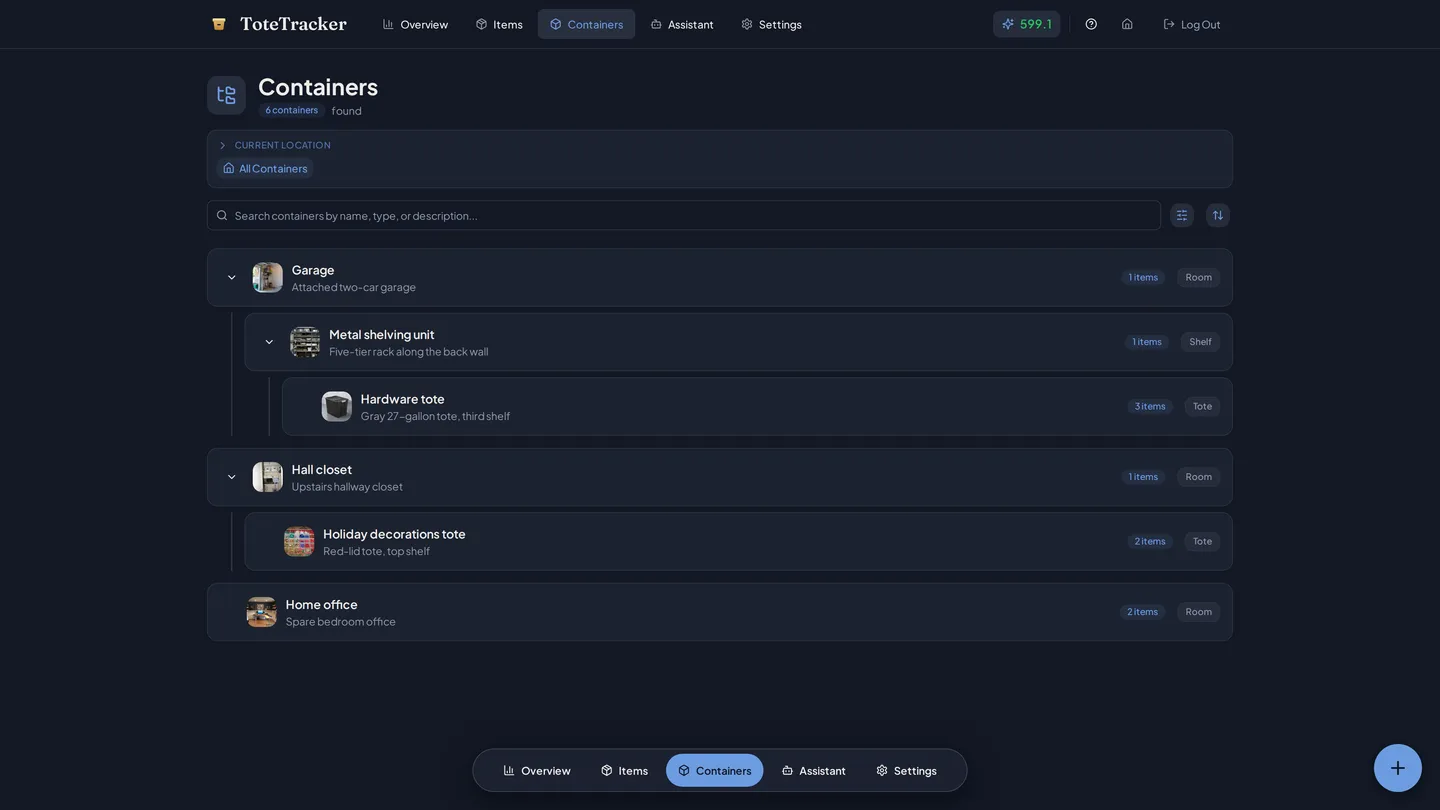
Everything in ToteTracker is a container, even rooms and buildings, and any container can hold items directly. Nest them to match your home, then store each item at the level that fits: seasonal gear in a labeled tote, and something that moves around the house directly in the house itself, so its location never needs updating.
Create and nest containers
- 1Open the Containers tab and tap the + button
- 2Pick a type: Building, Room, Shelf, Box, Tote, or Other
- 3Name it something you'd say out loud, like 'Garage' or 'Red tote'
- 4If it sits inside another container, set the parent
- 5Tap any container in the tree to see what's inside it
- Rename a container or change its parent anytime; the items inside follow it.
Print QR labels for your boxes
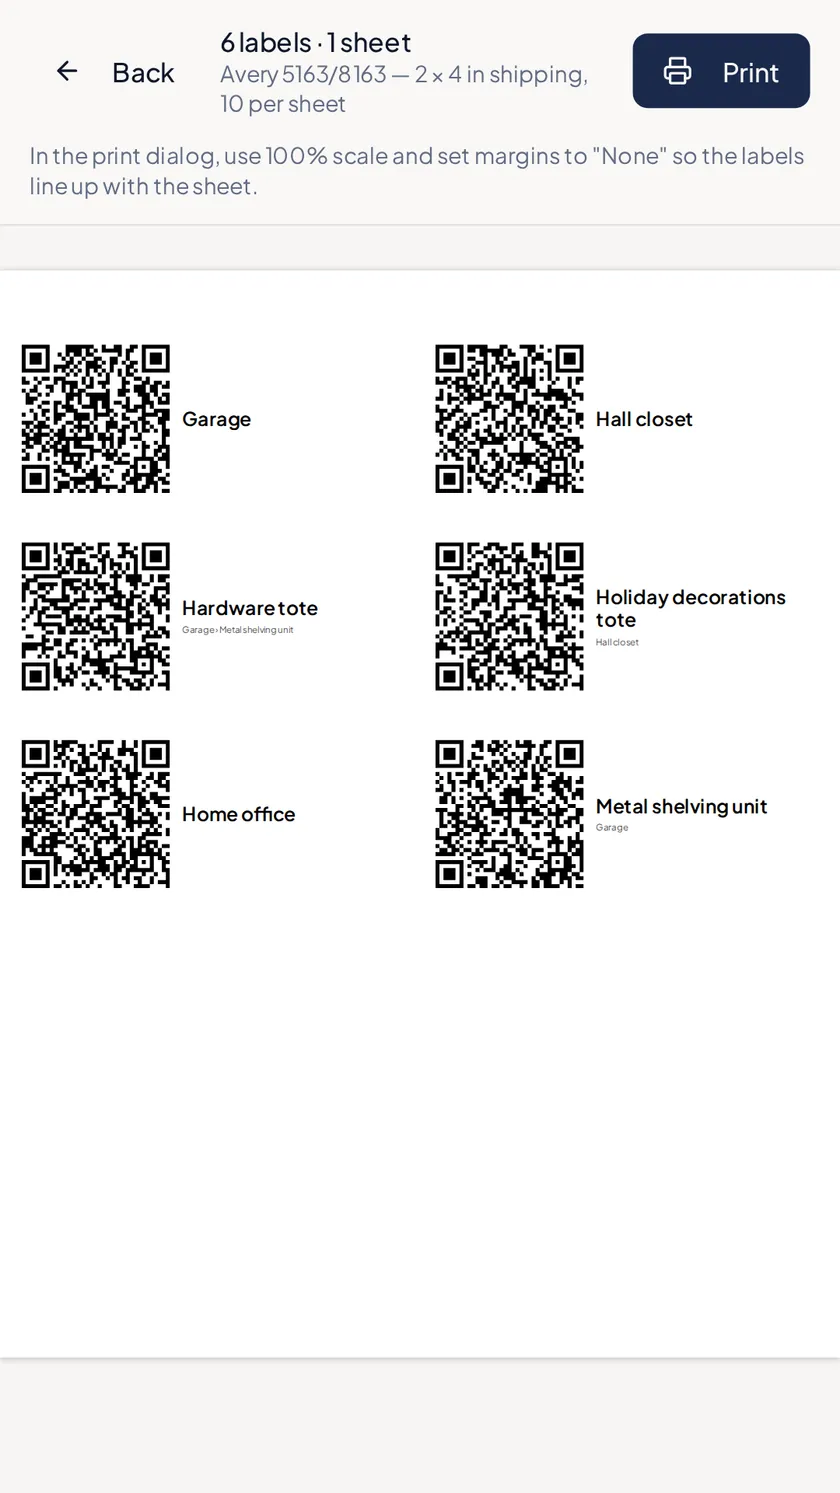
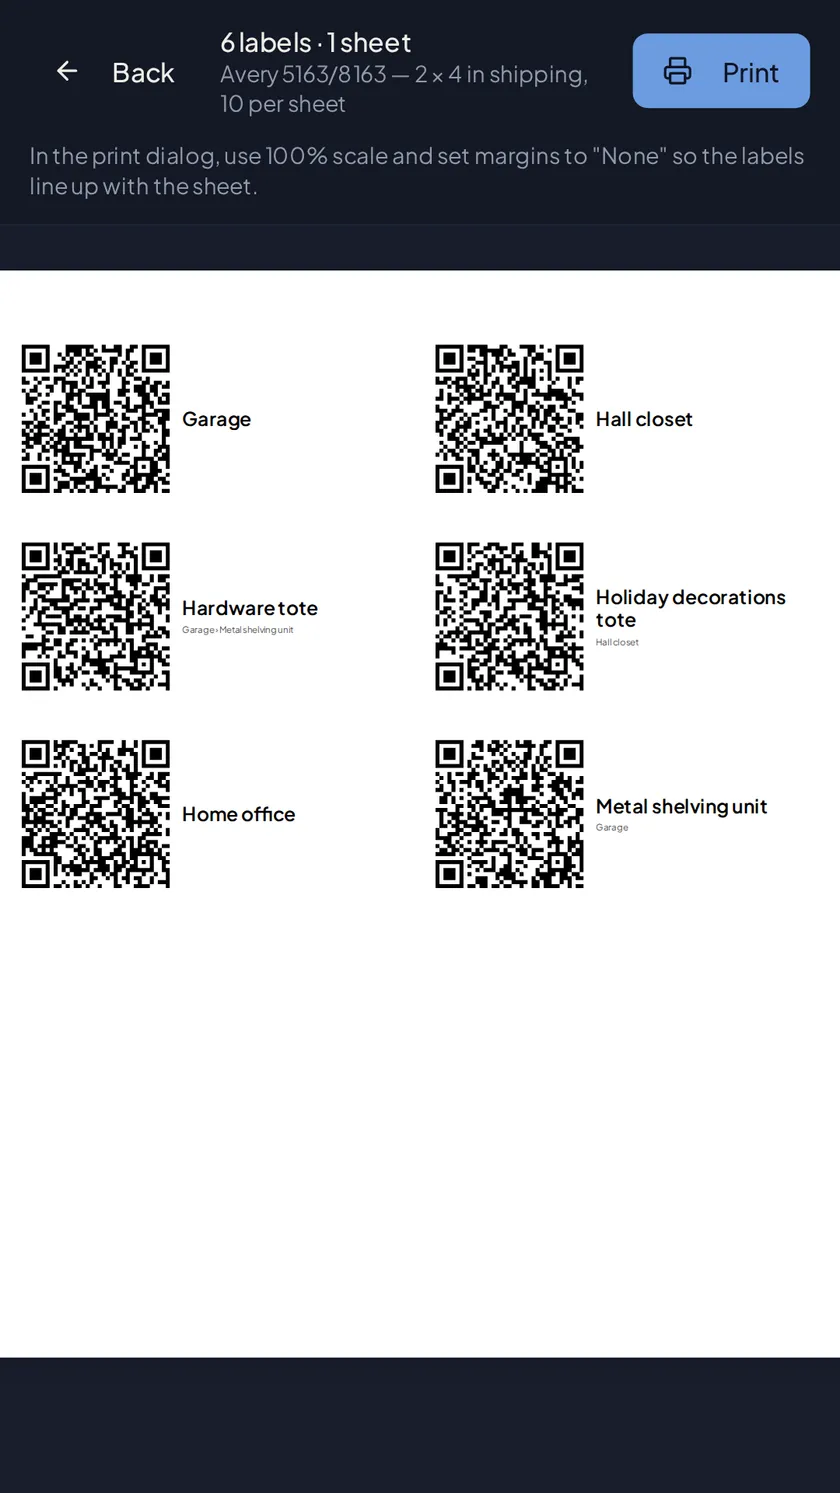
Stick a label on each tote and you can check what's inside without opening it, from the app or any phone camera.
- 1On the Containers tab, tap + and choose Print Labels
- 2Pick a sheet format: Avery 5163/8163 or 5164/8164 labels, or a plain Letter or A4 grid with cut guides
- 3Choose which containers to label and how many labels each gets (up to five, one per side plus the top), then print the preview at 100% scale and stick them on
- 4Scan a label with the Scan Label action or any camera app; the container opens to its contents
- Blank labels work in reverse: print a batch, stick them on totes as you pack, and the first scan claims each one.
- Boxes already labeled with a barcode or QR? Scan the code once and link it to a container.
- Printing uses no Smart Actions, works offline, and reprints always stay valid.
Chapter 03
Catalog by camera, receipt, barcode, or voice.
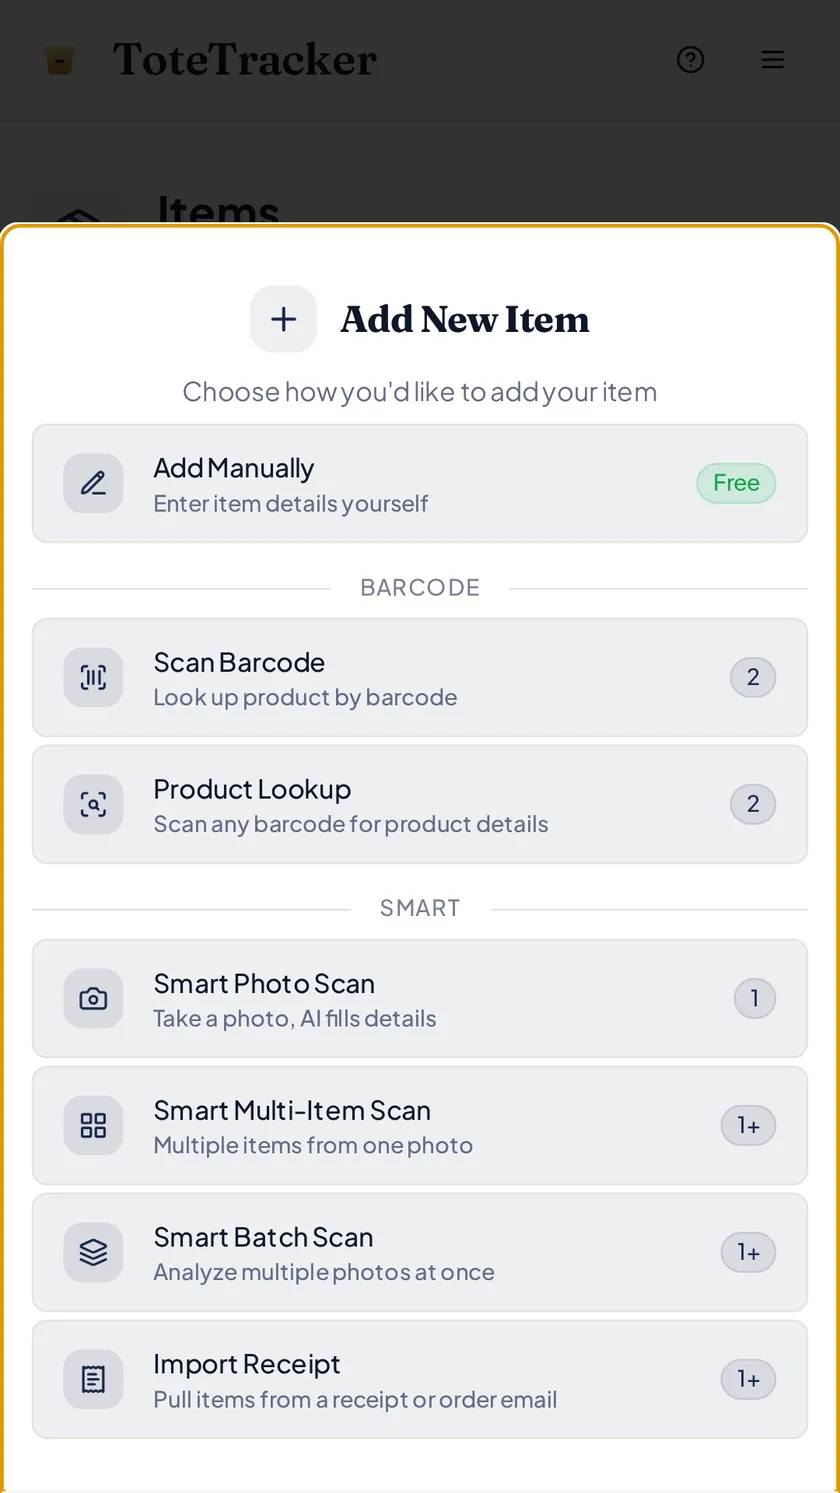
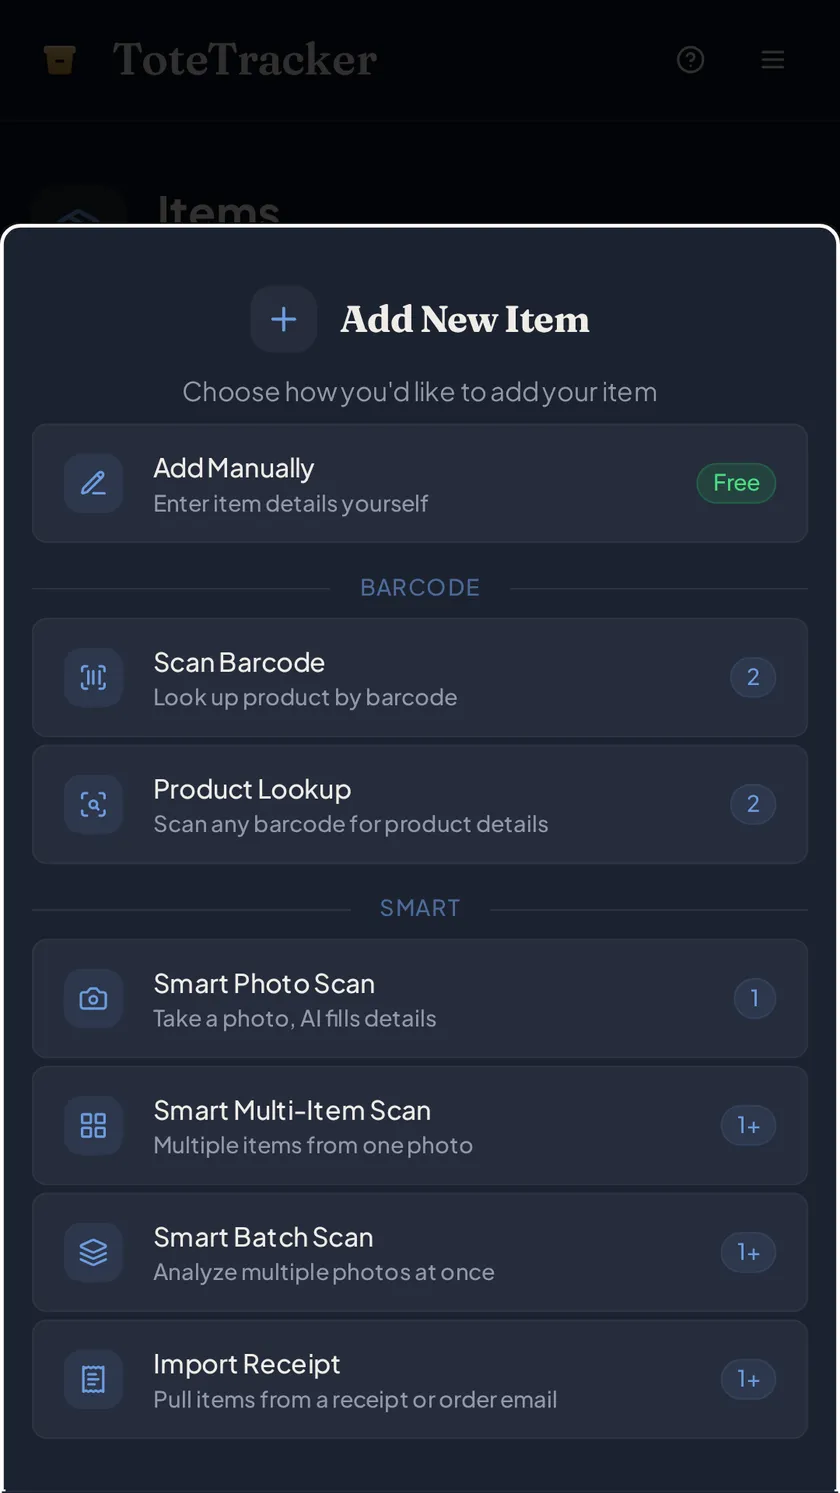
Every method is behind the + button on the Items tab, and every method drafts the details for you. Nothing saves until you've reviewed it.
Smart Photo Scan
One photo per item, or one photo of a whole shelf.
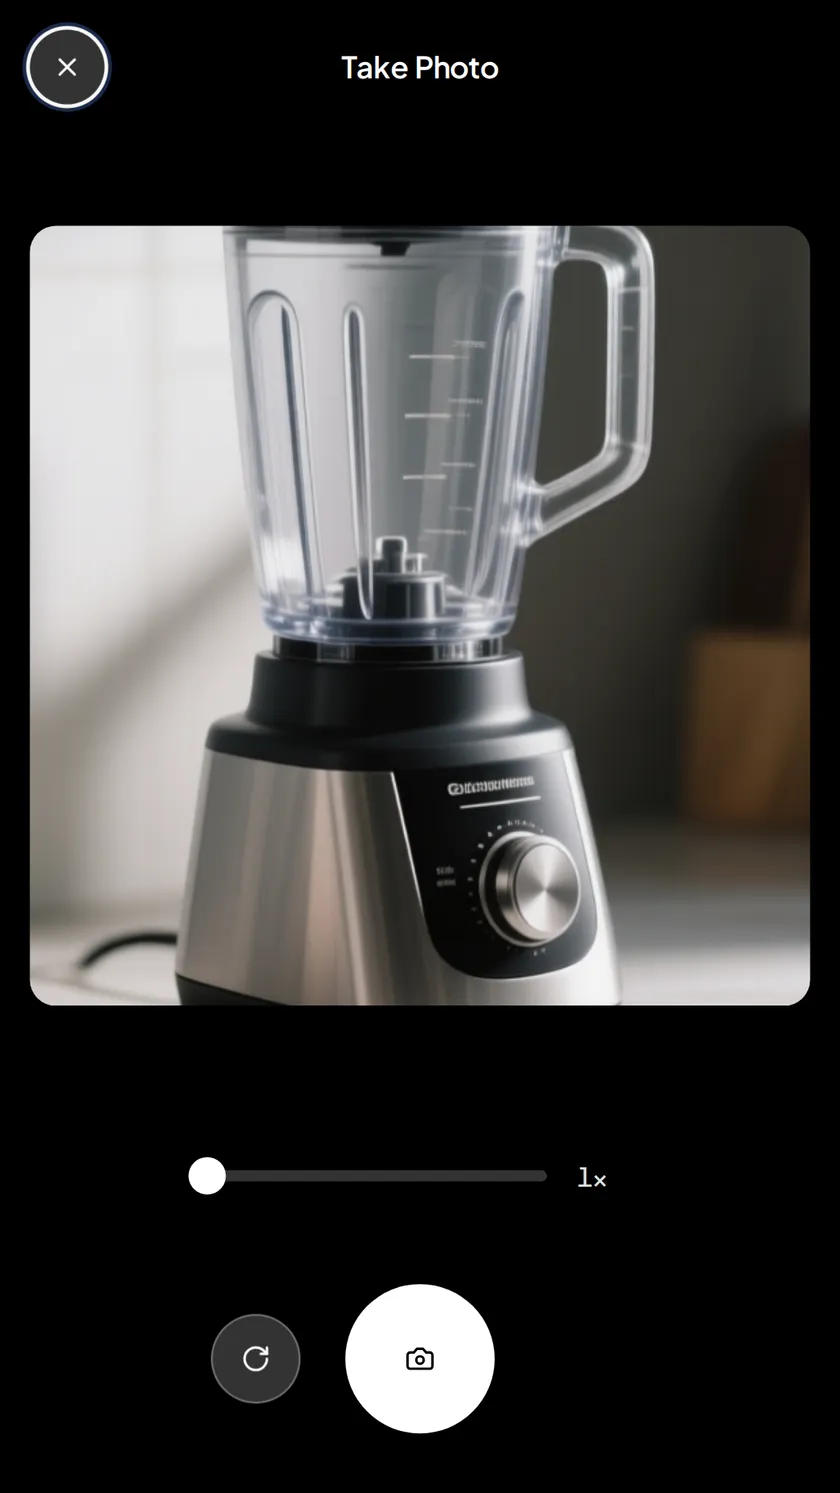
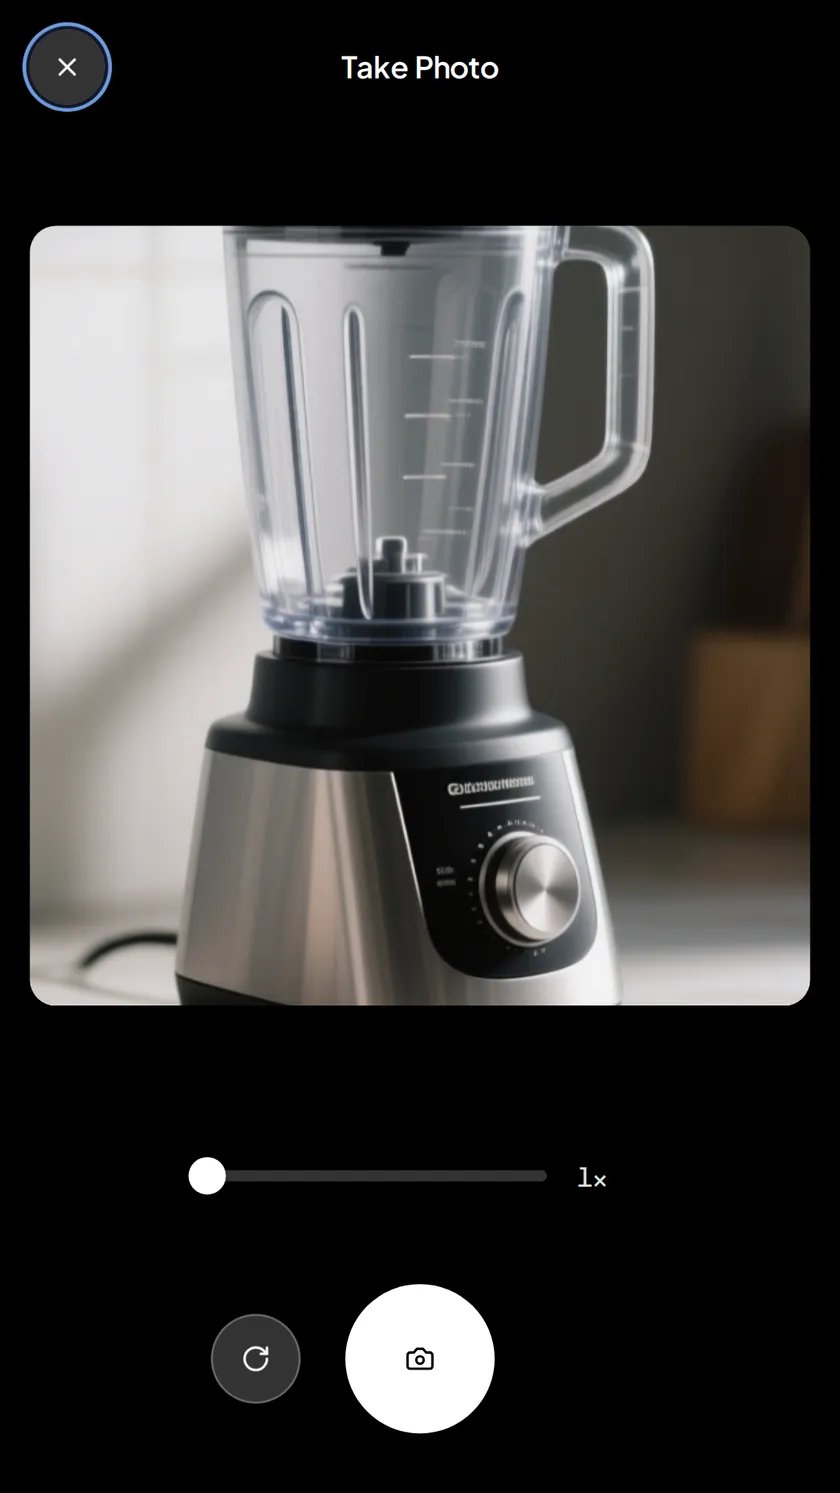
- 1Tap + on the Items tab and choose Smart Photo Scan
- 2Photograph the item
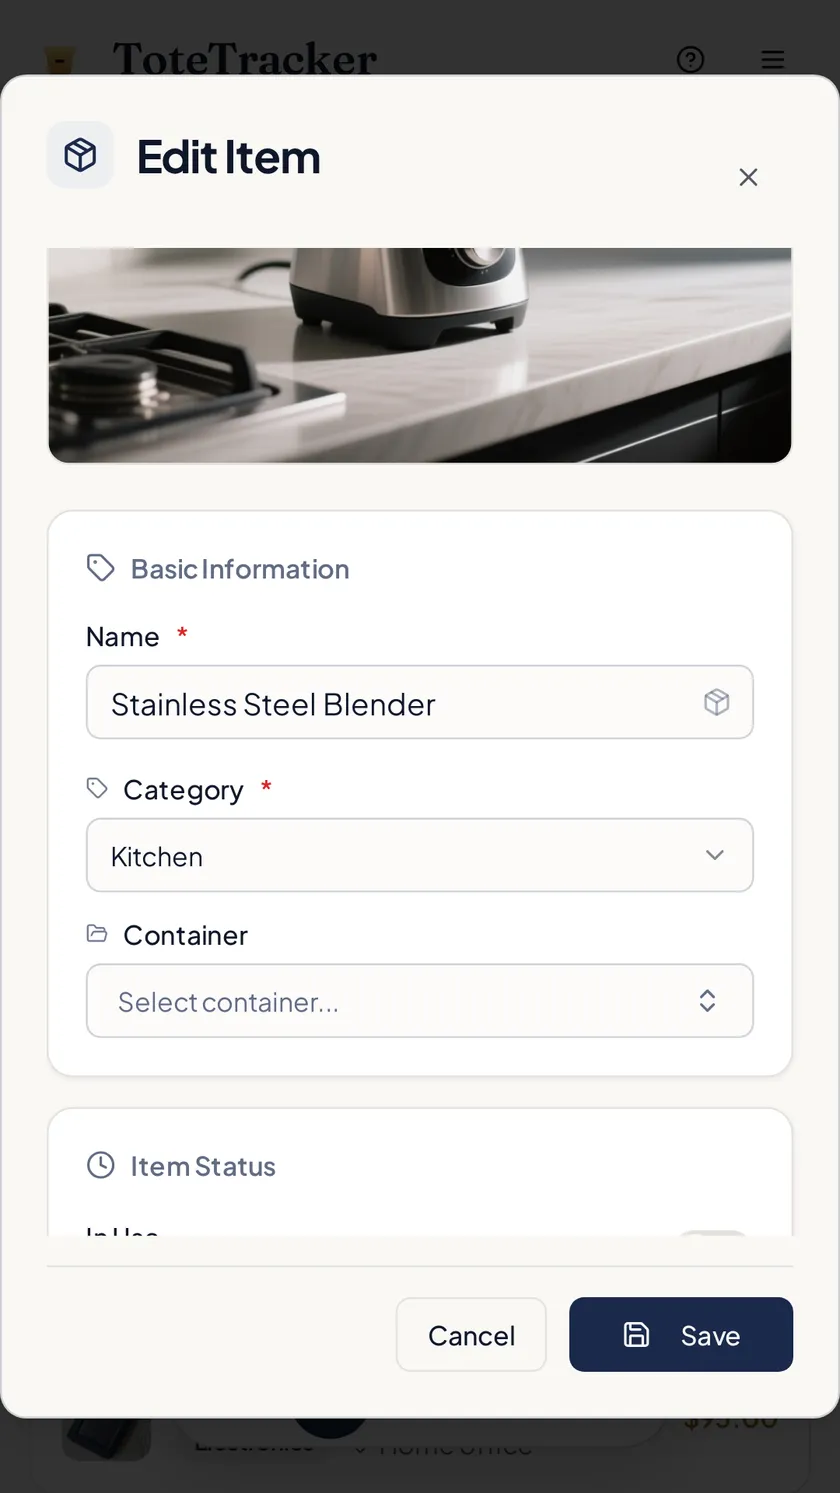
- 3The draft comes back in a few seconds: name, category, description, and estimated value
- 4Fix anything that's off, pick the container it lives in, and save
- Smart Photo Scan uses 1 Smart Action per photo.
- Smart Multi-Item Scan detects and crops every item in one shelf photo for 3 Smart Actions, however many it finds; Smart Batch Scan runs several photos in one go.
Import Receipt
Paper receipts, screenshots, and order-confirmation PDFs all work.
- 1Tap + and choose Import Receipt
- 2Photograph the receipt, or pick a screenshot or PDF
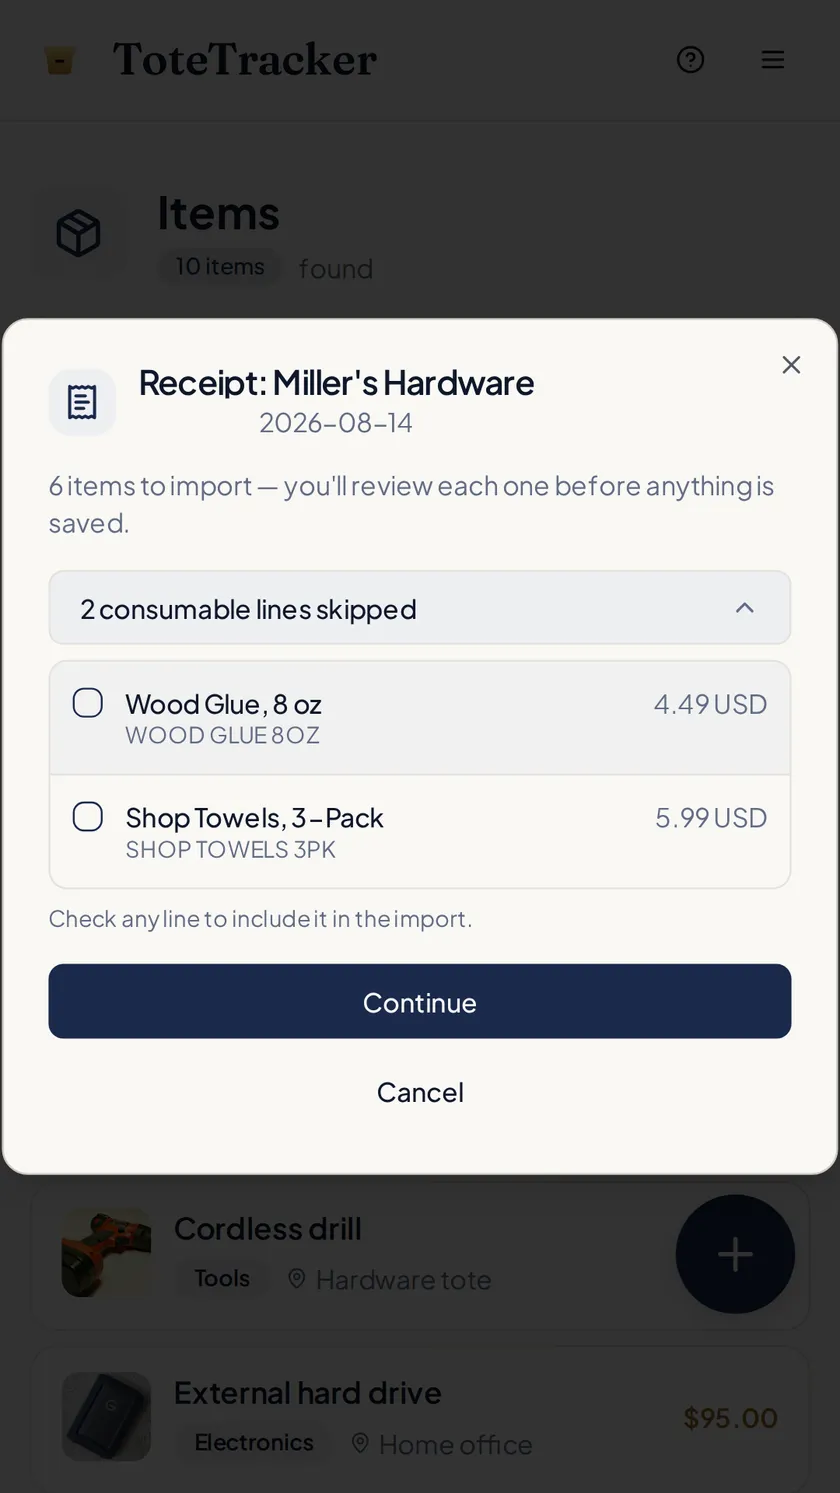
- 3The scan reads the merchant, the date, and every line
- 4Groceries and other consumables are set aside in the open; tick any line to keep it
- 5Pick the container the items went to, review the drafts, and save
- Imported items save without photos; add photos later if you want them.
- A receipt costs 1 Smart Action, however many lines it has.
Smart Barcode Scanner and Product Lookup
Packaged goods and books go fastest by barcode.
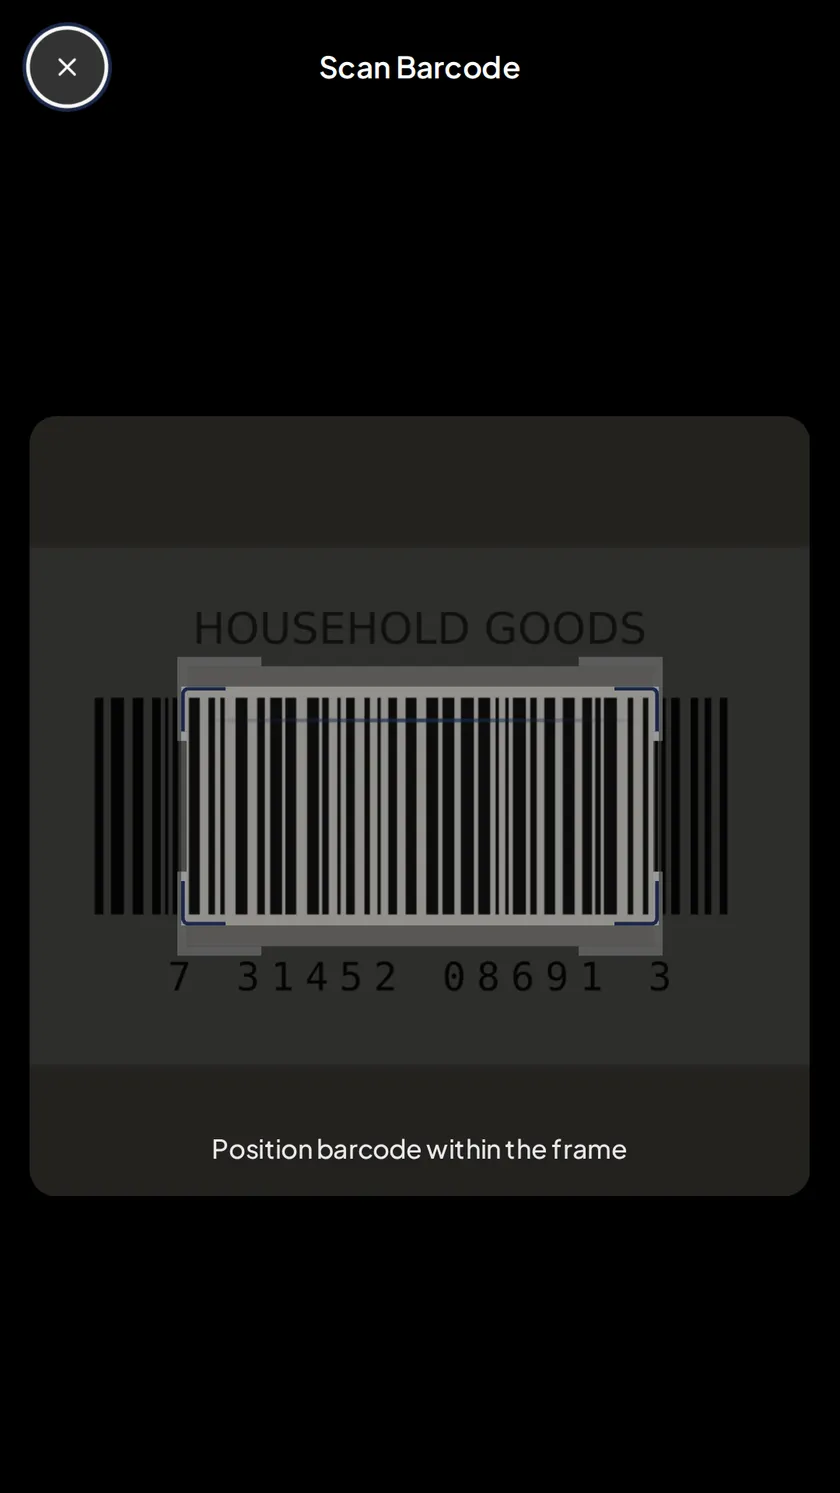
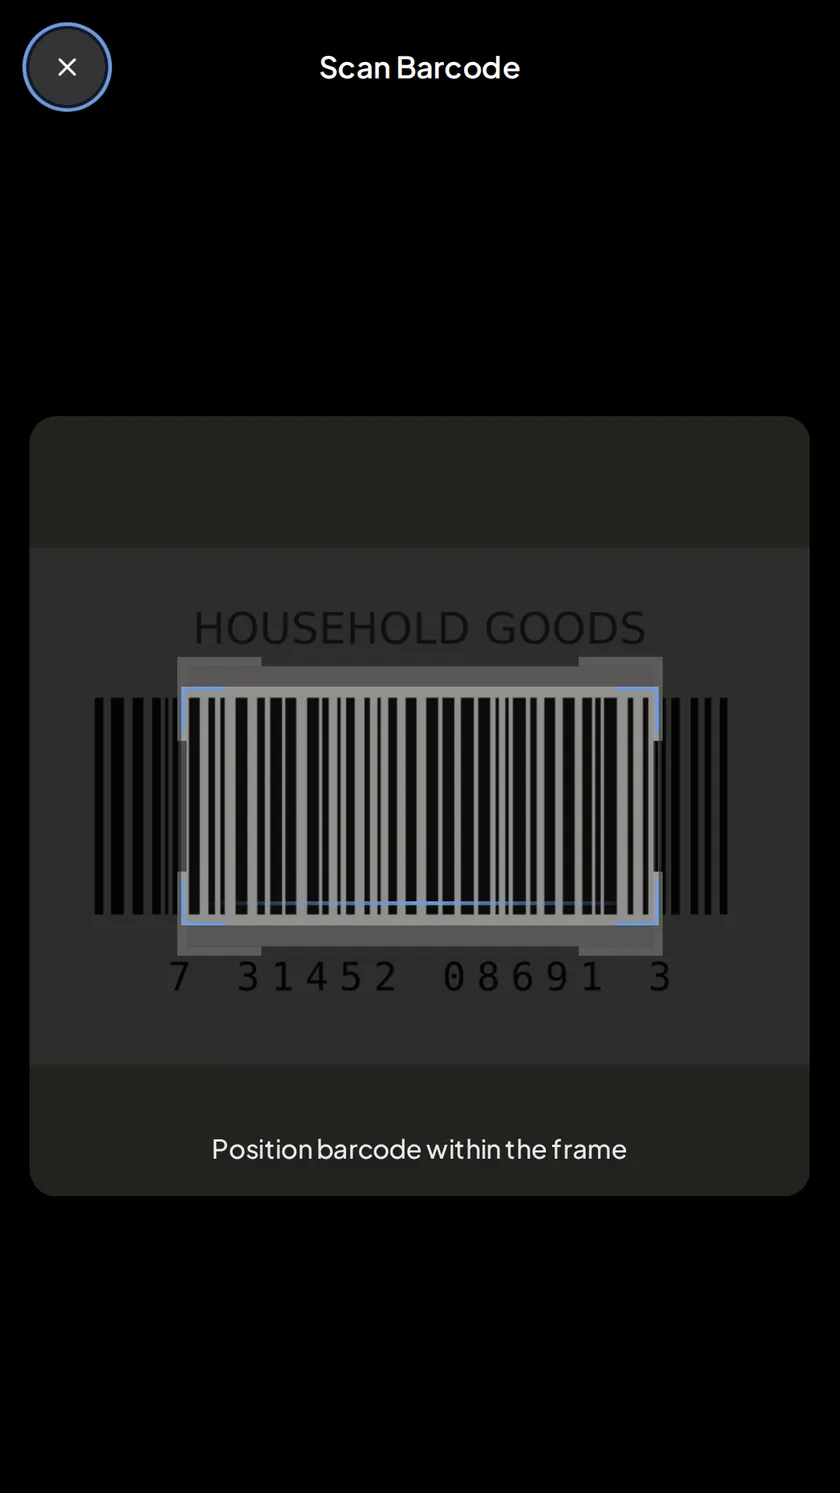
- 1Tap + and choose Smart Barcode Scanner
- 2Point the camera at the UPC, EAN, or ISBN
- 3If that barcode is already in your inventory, the saved item opens instead of a duplicate, and nothing is charged
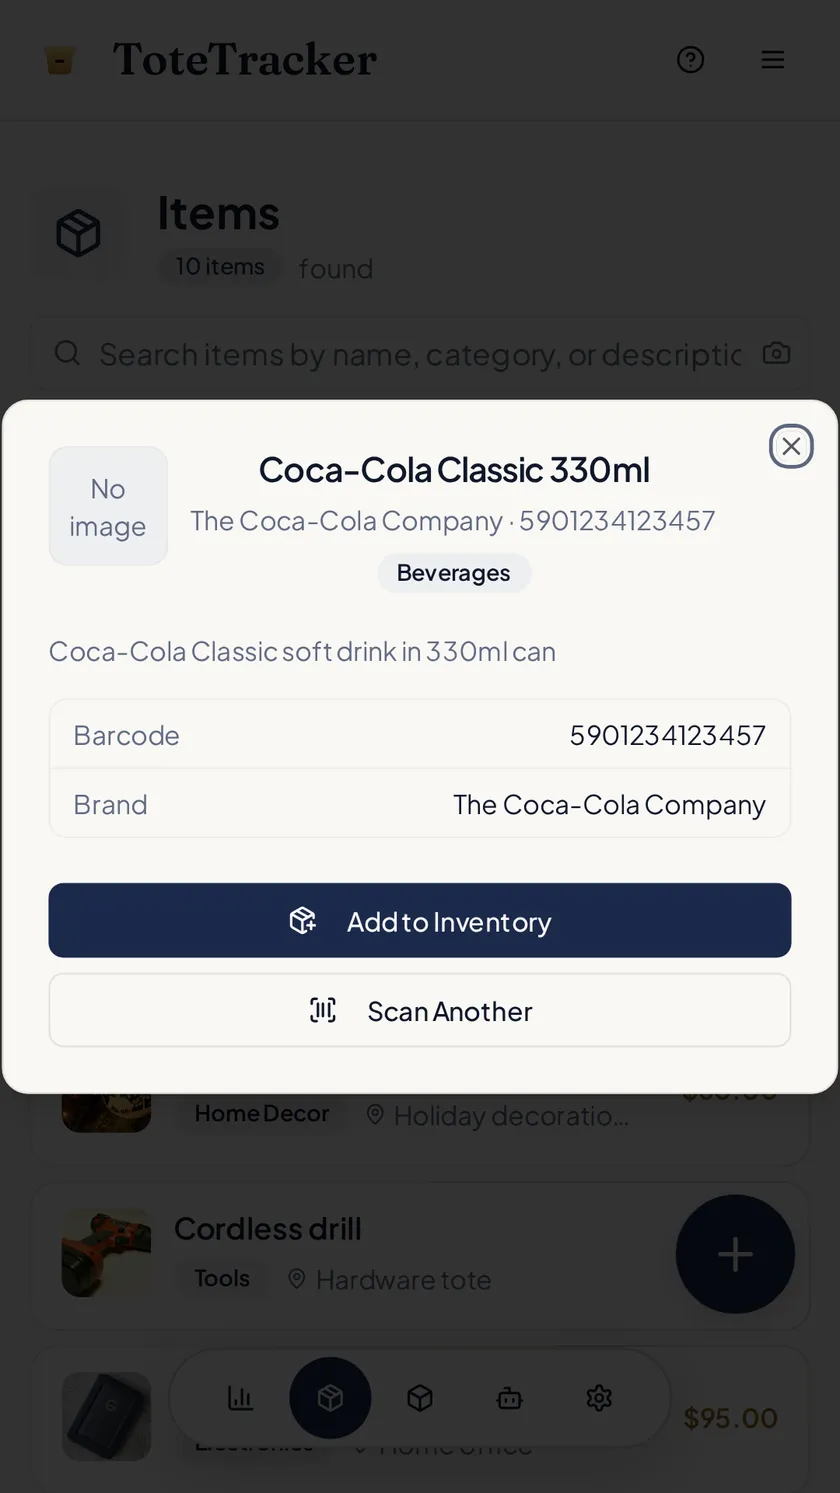
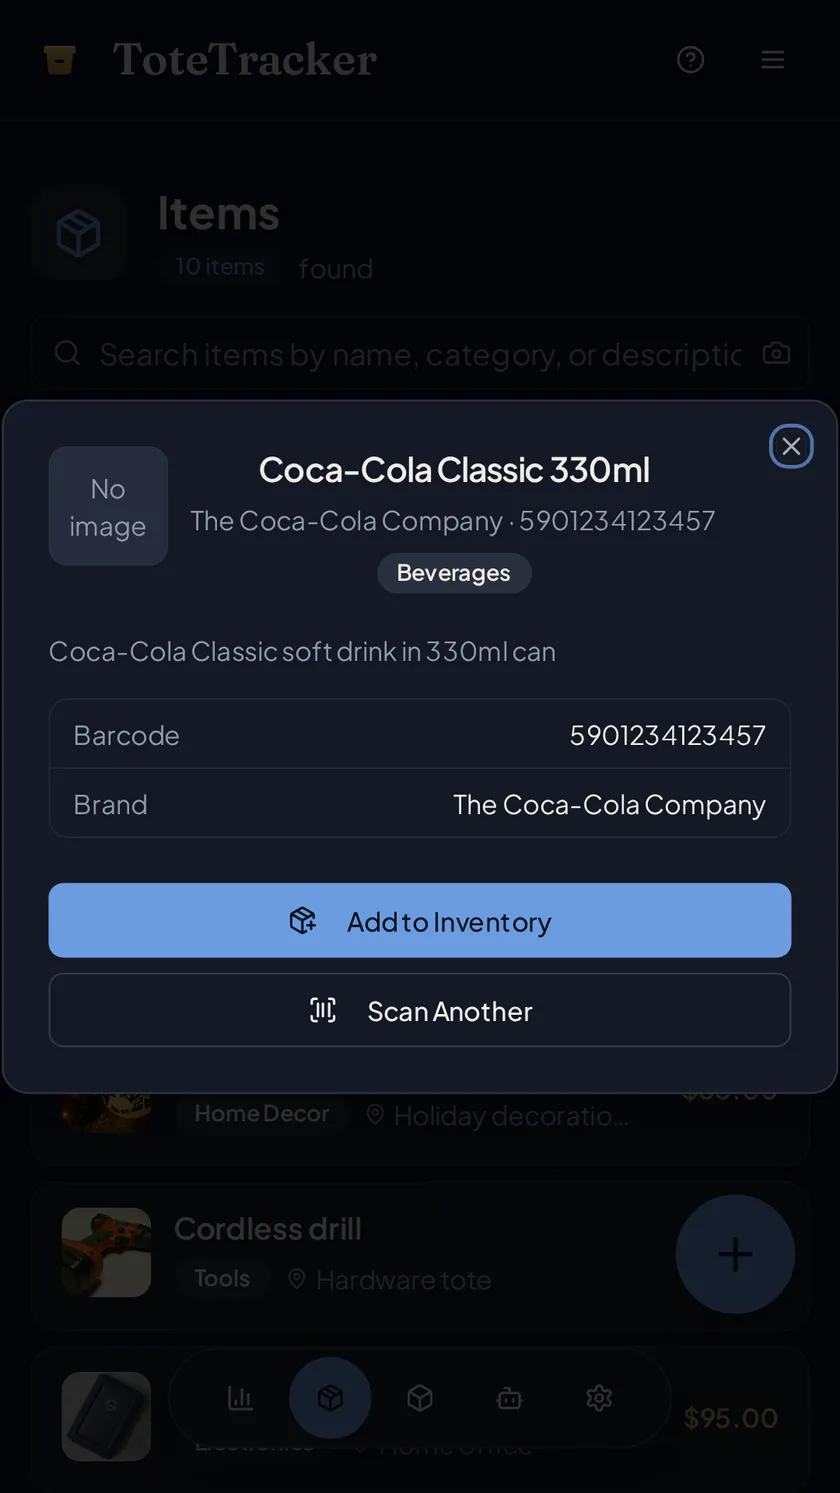
- 4Otherwise the name, images, and specifications fill in from a database of millions of products
- 5Review, pick a container, and save
- Product Lookup shows the full product details first; adding the item is the optional last step.
- A successful lookup uses 1 Smart Action; lookups that find nothing use no Smart Actions.
Tell Iris what you're putting away
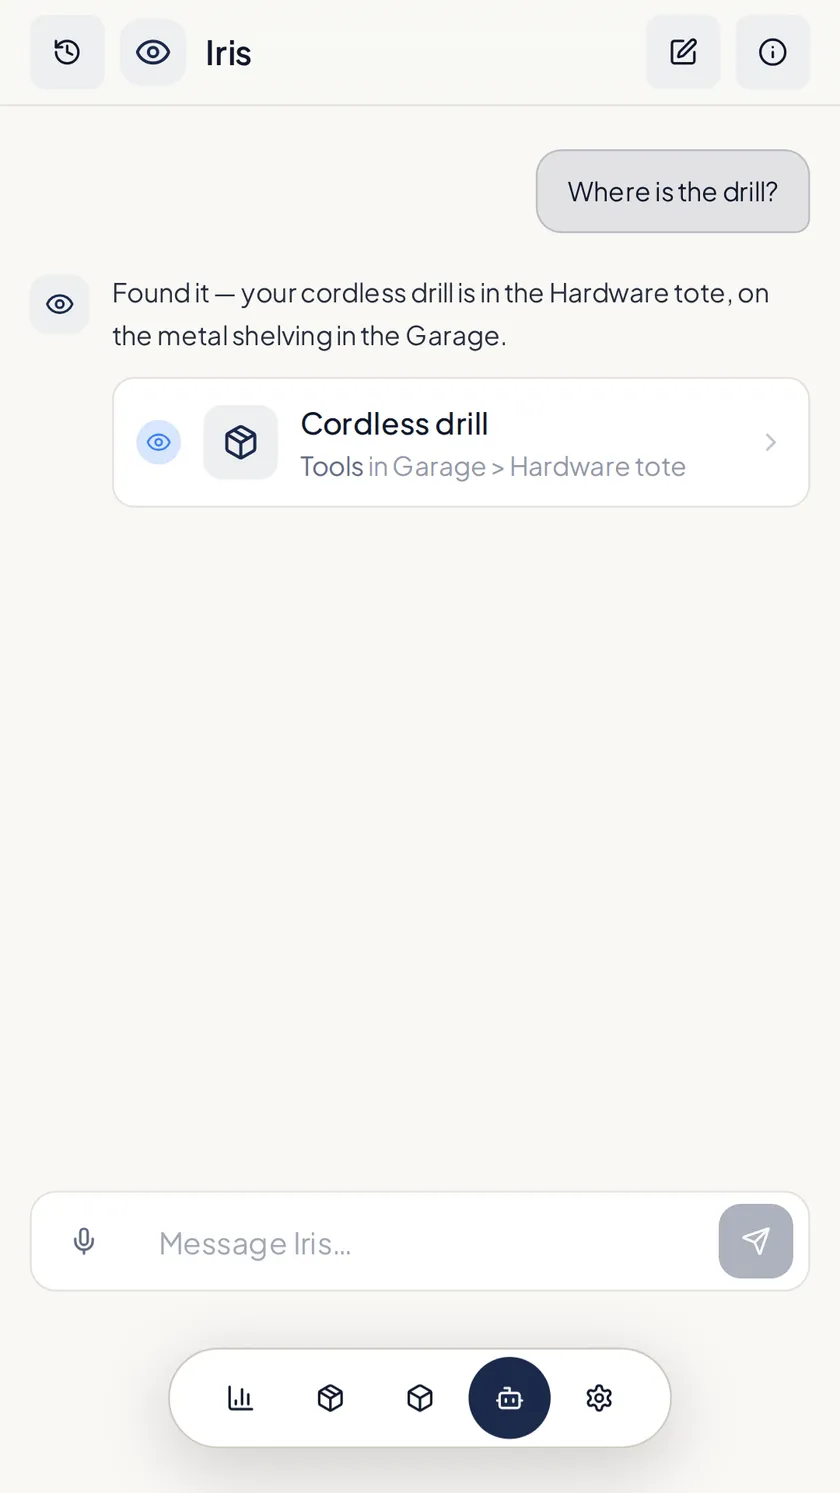
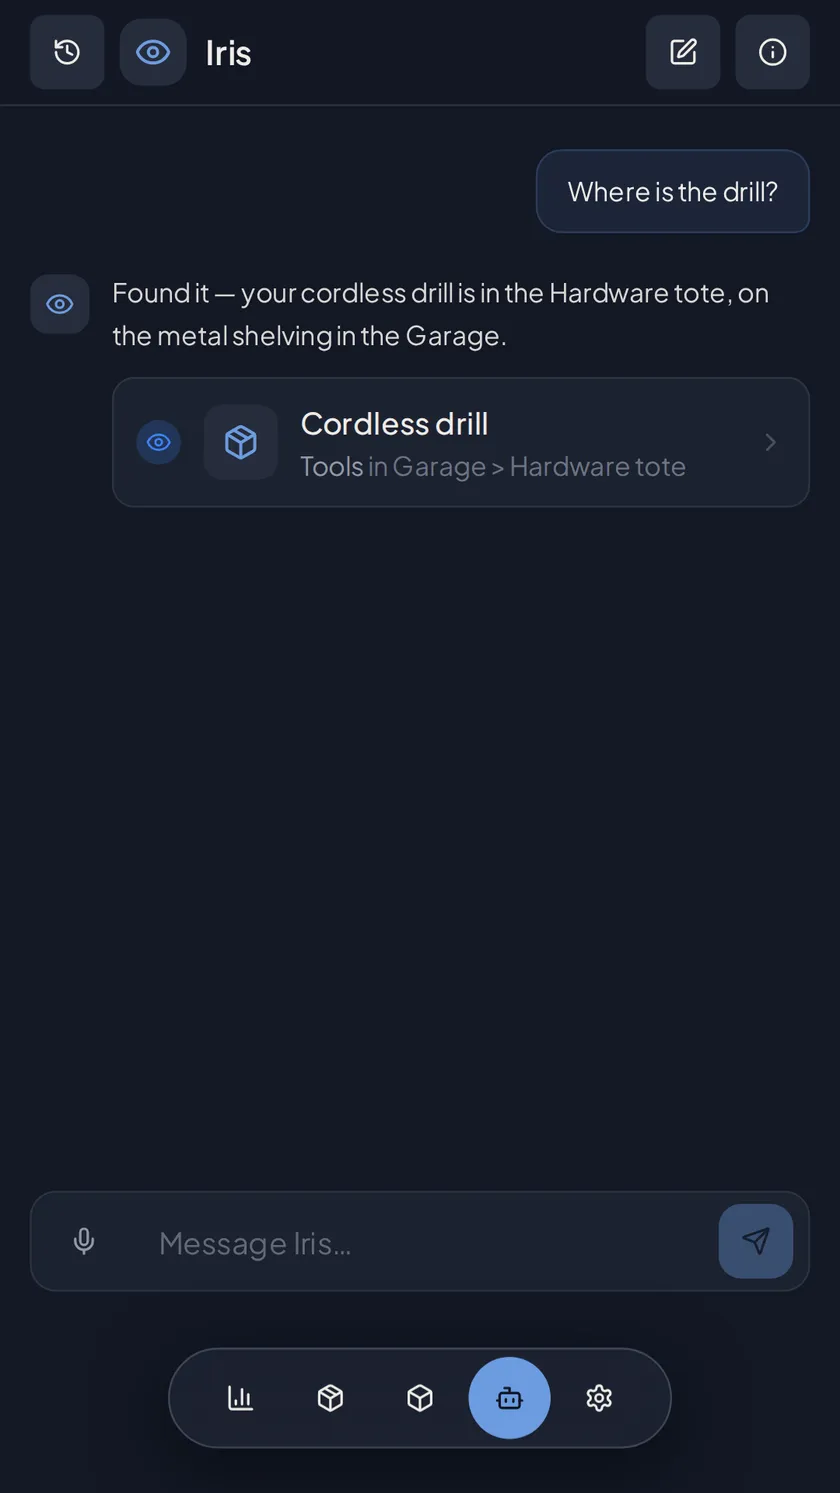
Iris is the assistant on the Assistant tab. It drafts items and containers from a plain description, typed or spoken.
- 1Open the Assistant tab
- 2Type, or tap the microphone and talk
- 3Describe things and places together: 'a drill, hammer, and saw in the garage toolbox'
- 4Iris drafts each item; review and confirm before anything saves
- Iris also answers questions, like 'where are my tools?' or 'what's in the attic?'
- Replies use Smart Actions, metered by length.
- On the web, Chrome and Edge handle voice input best.
Add Manually
A plain form for when typing is easiest.
- 1Tap + and choose Add Manually
- 2Name is the only required field; category, description, quantity, value, and location all make search better later
- 3Save
- Uses no Smart Actions, works offline, and entries sync when you're back online.
Chapter 04
Find anything with Smart Search.
Smart Search matches meaning instead of exact words, so the name you gave an item three months ago doesn't matter. Smart Search is part of Plus and uses no Smart Actions.
Smart Search
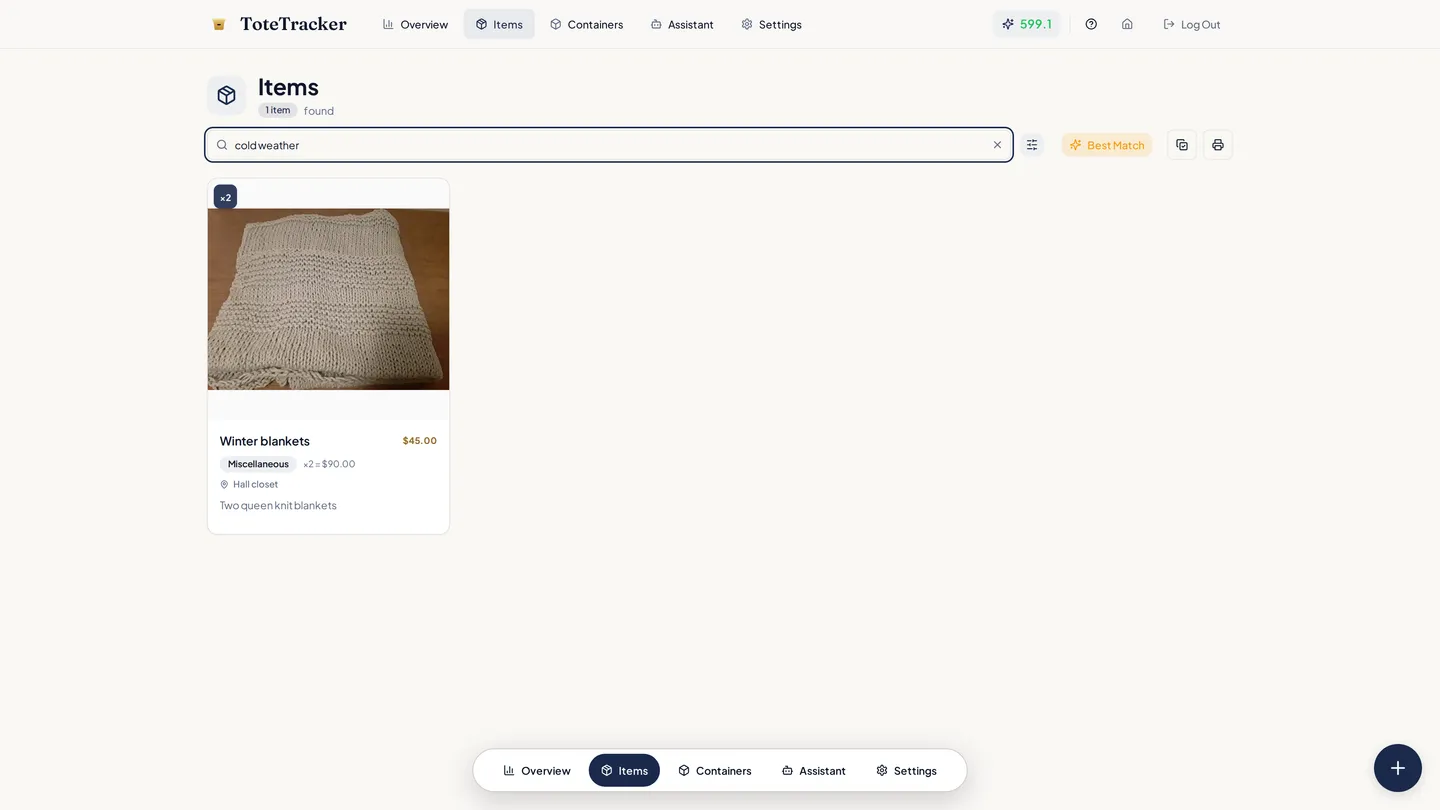
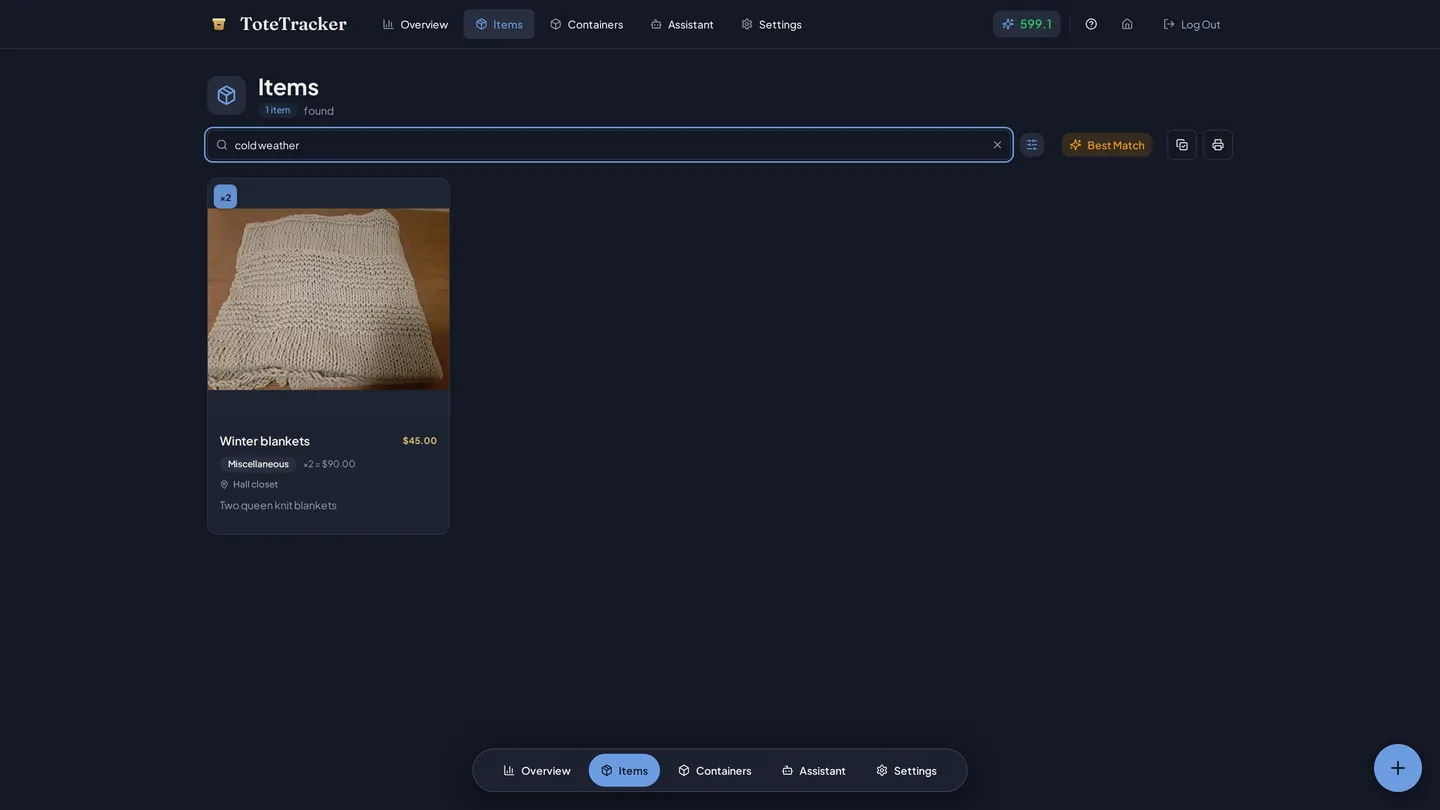
- 1Type what you remember into the search box on the Items tab: 'winter gear', 'cooking stuff', 'camping lantern'
- 2Results match meaning, so the snow jacket and the ski gloves come back even though neither is named 'winter'
- 3Narrow with the container and category filters, together if you like: all Tools in the Garage
- 4Open a result to see exactly where the item is stored
- Detailed item descriptions make matching noticeably better.
- Iris answers the same questions in conversation.
Search with a photo
Search with the camera when a photo is easier than a description.
- 1Tap the camera button in the empty search box
- 2Take a photo, or pick one from your gallery
- 3Saved items that look like it surface, ranked by similarity
- 4The photo sits in the search box as a small chip; clear it to get back to text search
- The camera button appears once your items have photos to match against.
Chapter 05
Share your inventory and keep it up to date.
Invite your household by email and everyone works in the same inventory. A few small habits keep it accurate as things move around.
Invite your household
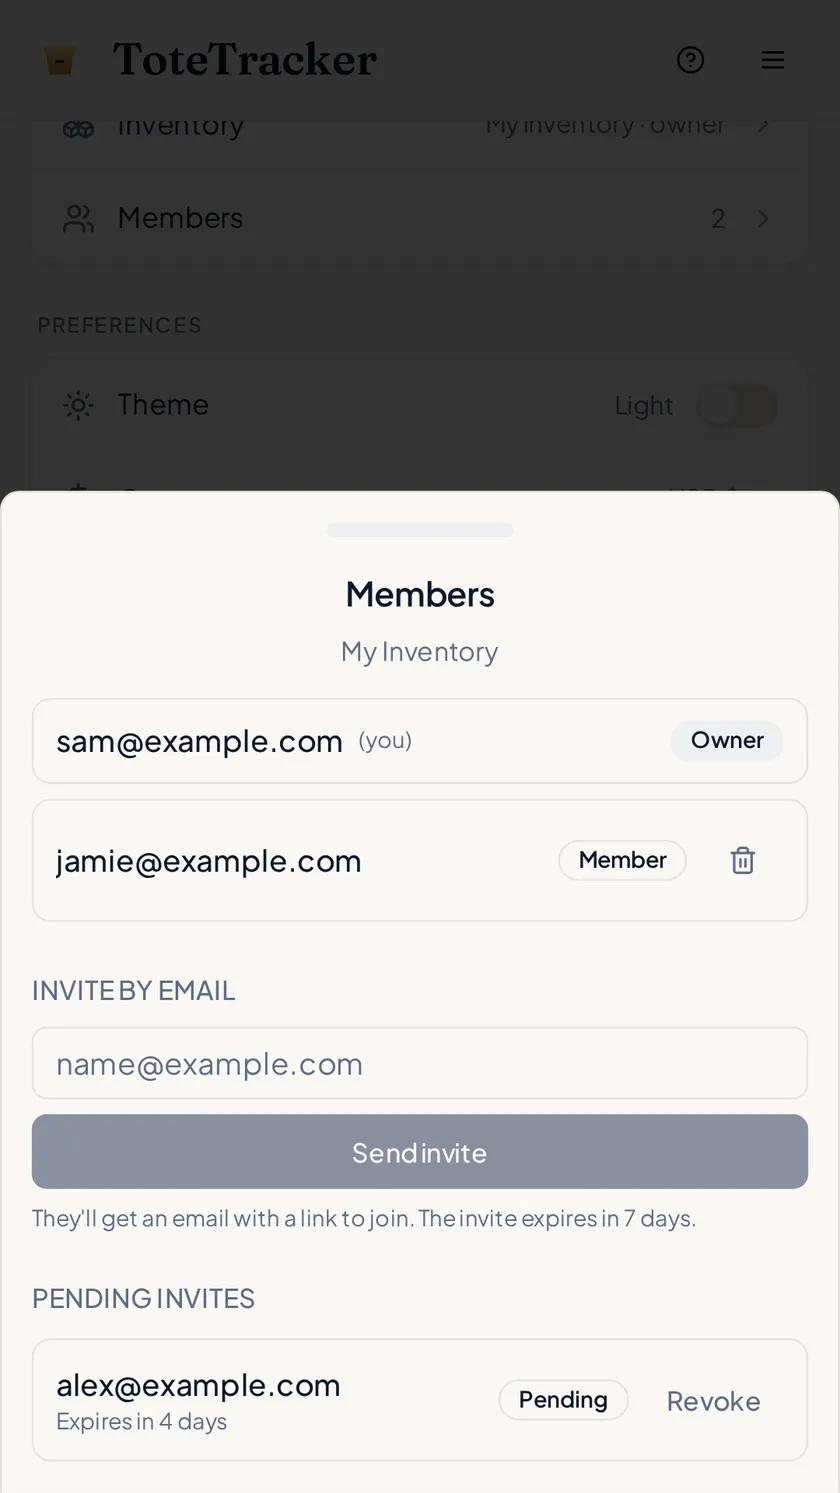
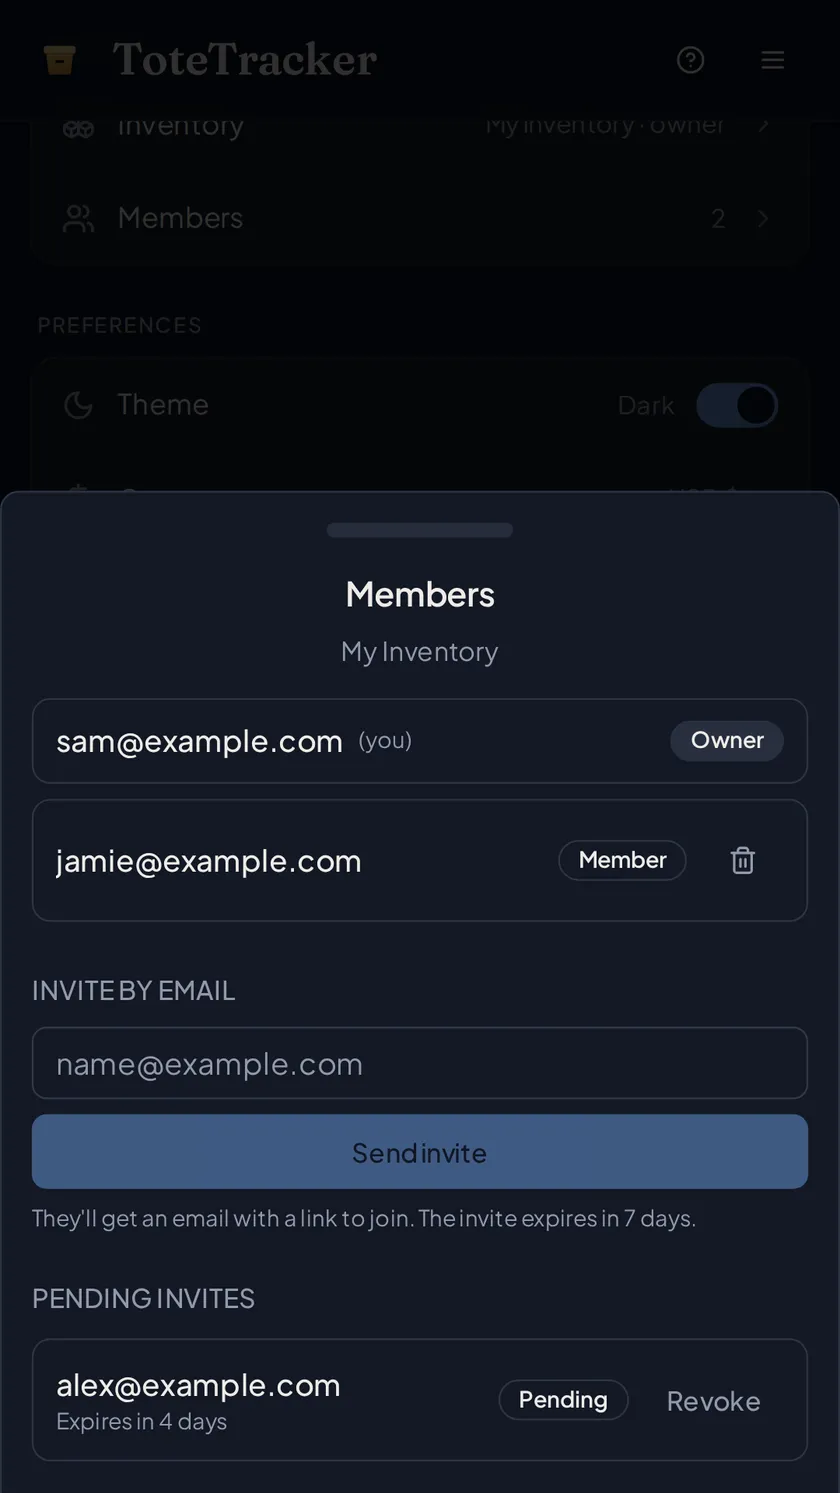
- 1In Settings, open Sharing and use Invite people
- 2Send an invite by email; the link stays valid for about a week
- 3They join from the link, whether or not they already have an account
- 4From then on you all see and edit the same containers and items
- Sharing is part of Plus: the owner of a shared inventory needs Plus, the people they invite can be on any plan, and Smart Actions are deducted from whoever performs the action.
- Owners invite and remove members, rename, transfer, and delete the inventory; members can add, edit, and delete items and containers.
- Members can see each other's email addresses, since invites go by email and there are no display names.
Switch between inventories
- 1Use the inventory switcher to pick the inventory you're working in
- 2The active inventory scopes everything: the lists, Smart Search, photo search, and Iris
- 3Switch back to your personal inventory anytime; solo users never see the switcher
Keep the inventory current
- 1Open any item and tap Edit to fix details or move it to a new container
- 2Mark an item 'in use' when it leaves storage, with a note about where it went; one tap marks it back
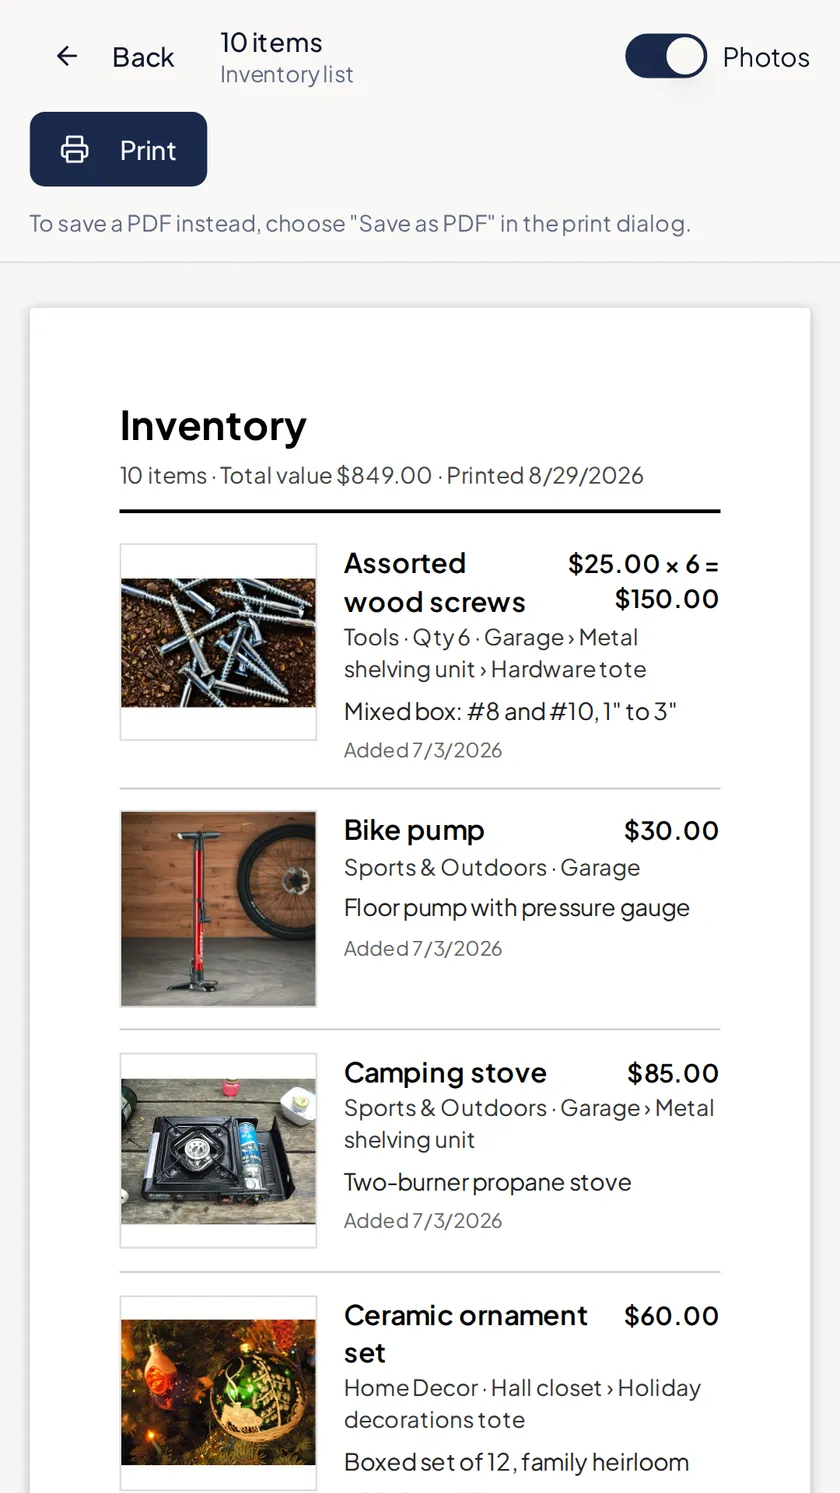
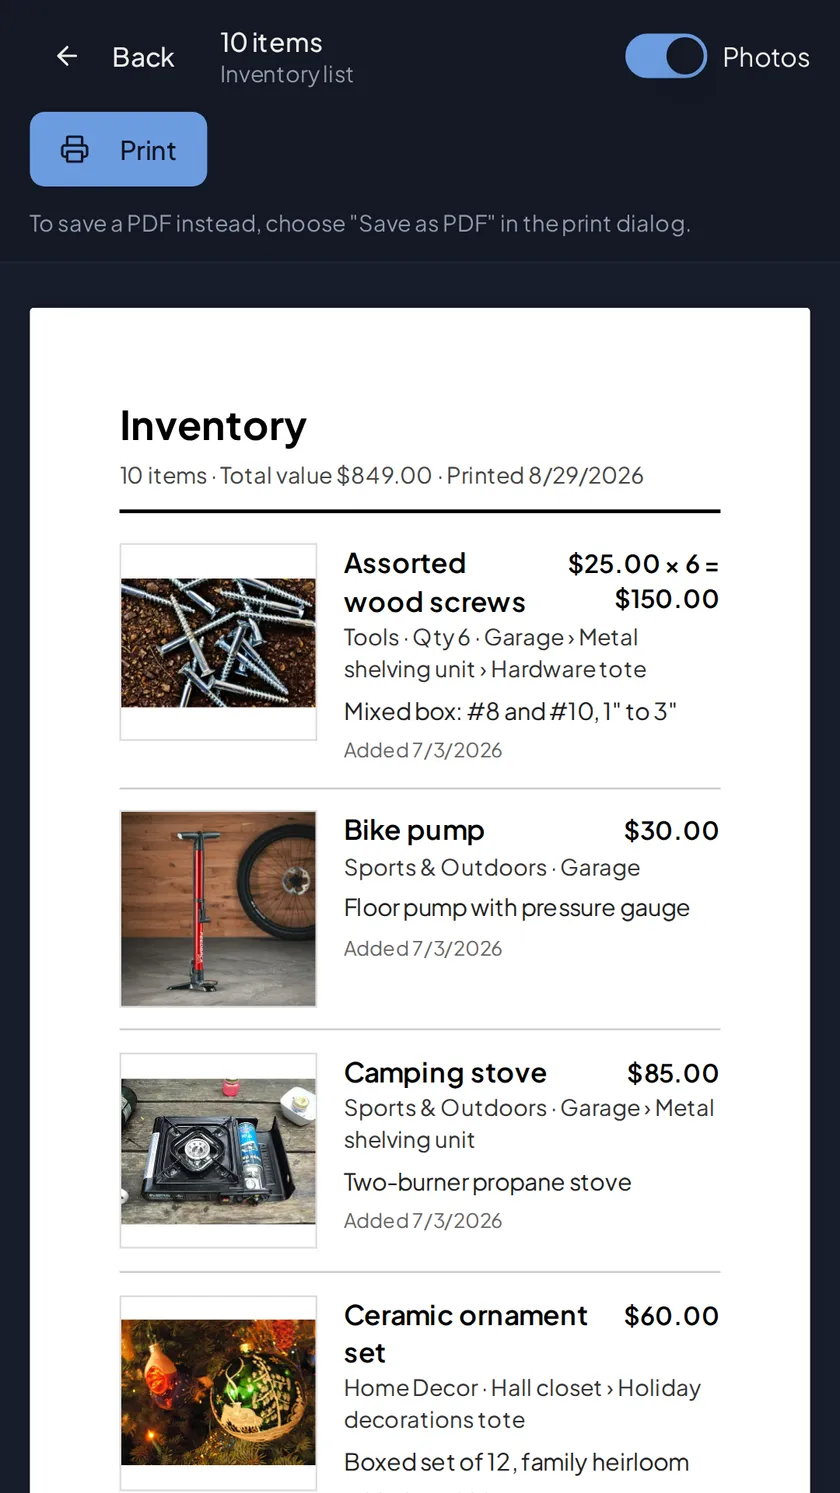
- 3Print the list you're looking at from the items view, same filters and sort, photos optional
- 4A daily sweep flags anything that looks logged twice; nothing merges until you confirm, and merges can be undone
- The browser's print dialog saves any list as a PDF, handy for insurance records.
- Your full data exports anytime from Settings.
Habits
Small habits that pay off.
Use good lighting
Photos taken in decent light scan better. Near a window beats the back of a closet.
Plan the hierarchy first
Sketch the tree before creating containers. A typical shape: Building, then Room, then Shelf, then Box.
Scan the whole shelf
Smart Multi-Item Scan drafts every item in one photo. A packed shelf is one capture, not twenty.
Label as you pack
Print blank labels before a packing session and stick one on each tote as you close it. The first scan claims it.
Write searchable descriptions
A line like 'blue 4-person dome tent, poles in the side pocket' gives Smart Search more meaning to match.
Review every draft
The scan is usually right, not always. Skim the name and value before saving.
Catalog your first room today.
The trial doesn't ask for a card, and it comes with everything in these guides — scanning, search, duplicate detection, printing, and sharing.
Questions? Check the or email support@totetracker.app.